Guide
Knife technique for shaving shawarma
The knife, the grip, the angle and the motion that separate proper shaved shawarma ribbons from a plate of chopped meat — plus how to keep the blade sharp enough to do it.
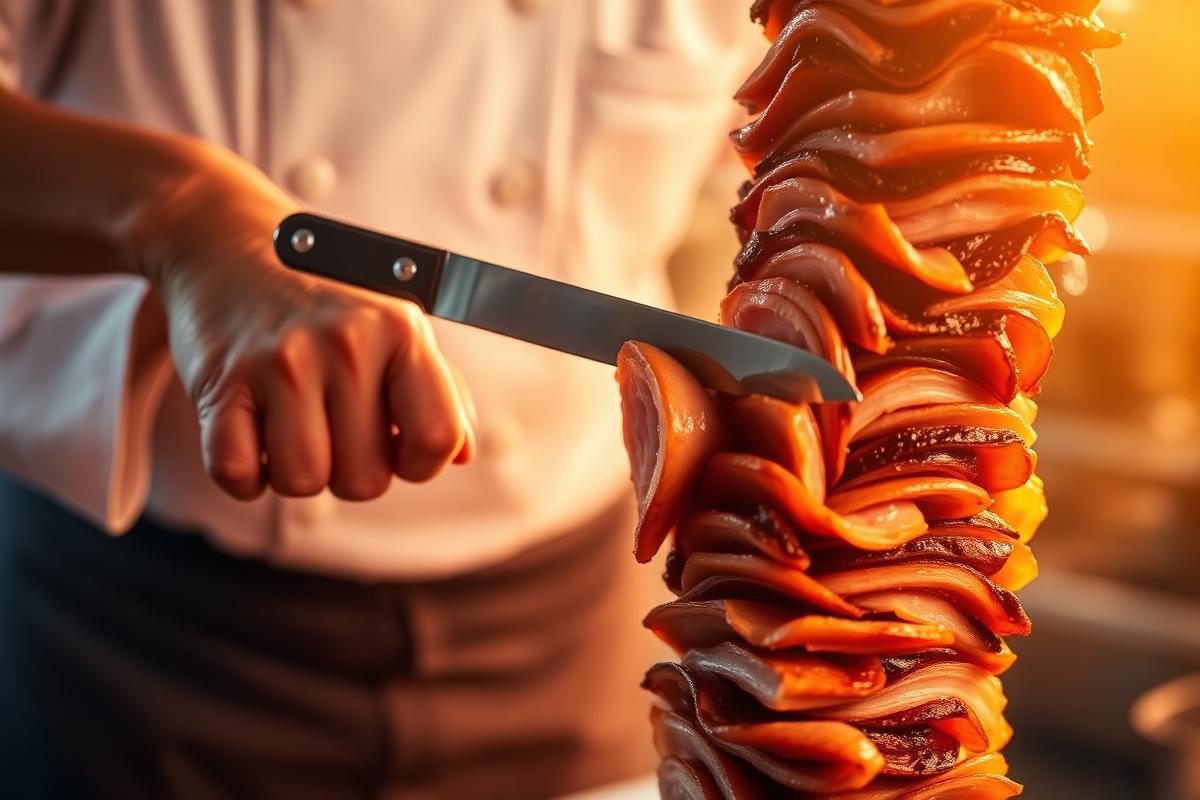
What a good shave looks like
A correct shawarma slice is a wide, thin ribbon: 2-3 mm thick, 5-10 cm long, crisp at one edge and tender along the rest. It holds its shape when you pick it up. What you want to avoid is the pile of small chopped cubes you see at bad takeaways, which is what happens when a dull knife is sawed at the stack. Ribbons carry sauce and pack into bread properly; cubes fall out of the wrap and dry out in minutes.
Choosing the knife
Length is the priority: 30 cm or more, so the whole cut is one pull rather than several strokes. A granton-edge slicing knife with scalloped hollows along the blade releases meat cleanly and is the best all-round choice. A traditional shawarma knife is thinner and more flexible; a long brisket slicer works nearly as well and costs less. Do not use a chef's knife — the curved belly forces you to rock, and rocking tears. Serrated bread knives are worse still.
Sharpness is non-negotiable
A slicing knife needs to be sharp enough to shave arm hair. Hone it on a steel before every session — ten light passes per side, held at about 15 degrees. Sharpen properly on a whetstone every few cooks. The test is simple: hold a sheet of paper by one corner and slice down through it. A sharp blade glides; a dull one snags and tears. If it snags on paper, it will tear your meat.
Grip and body position
Hold the handle in a full grip with your index finger extended along the spine for control, never on the blade. Stand square to the stack with your feet apart and your weight balanced, close enough that your elbow stays near your body. Long reaches make you unstable and unstable cuts wander. Your free hand catches the meat below with a heat-resistant glove or a tray — never rest it against the hot stack.
Blade angle
Lay the blade nearly flat against the face of the stack, at roughly 10 to 15 degrees. Too steep and you dig into raw meat; too flat and the blade skates over the surface without biting. The angle should stay constant through the whole stroke — the most common beginner error is starting shallow and steepening halfway, which produces a wedge-shaped slice, thin at the top and thick at the bottom.
The downward pull
Start at the top of the cooked band. Set the heel of the blade against the meat, apply light pressure, and pull the knife down and towards you in one continuous motion, drawing the full length of the blade through the cut. Let the knife do the work; pressing hard compresses the meat and squeezes out juice. One stroke, one ribbon. If you need a second stroke to finish a slice, the knife is dull.
Working around the stack
Rotate around the stack rather than digging into one spot. Take a full vertical column of slices from top to bottom, then move a few centimetres around the circumference and take the next column. This keeps the stack cylindrical, which keeps it turning evenly and cooking evenly. Digging a crater into one side is how stacks end up lopsided and how the motor starts to labour.
Safety and hygiene
Always cut with the blade travelling away from your body and your free hand out of the blade path. Keep the knife dedicated to cooked meat only, and wash it between sessions — never let it touch the raw stack before cooking. Store it in a sheath or on a magnetic strip, not loose in a drawer where the edge gets chipped.
Practising without a stack
You can build the muscle memory on any large roast. Cook a whole chicken or a pork shoulder, stand it on a board, and practise long, flat, single-stroke slices with a 30 cm knife. The motion is identical; only the orientation changes. Twenty minutes of practice on a roast will noticeably improve your first real stack.