Guide
Build a home vertical rotisserie
Everything you need to know about cooking a real vertical stack at home — the equipment options, how to build and balance the stack, heat management, and how to get the shave right.
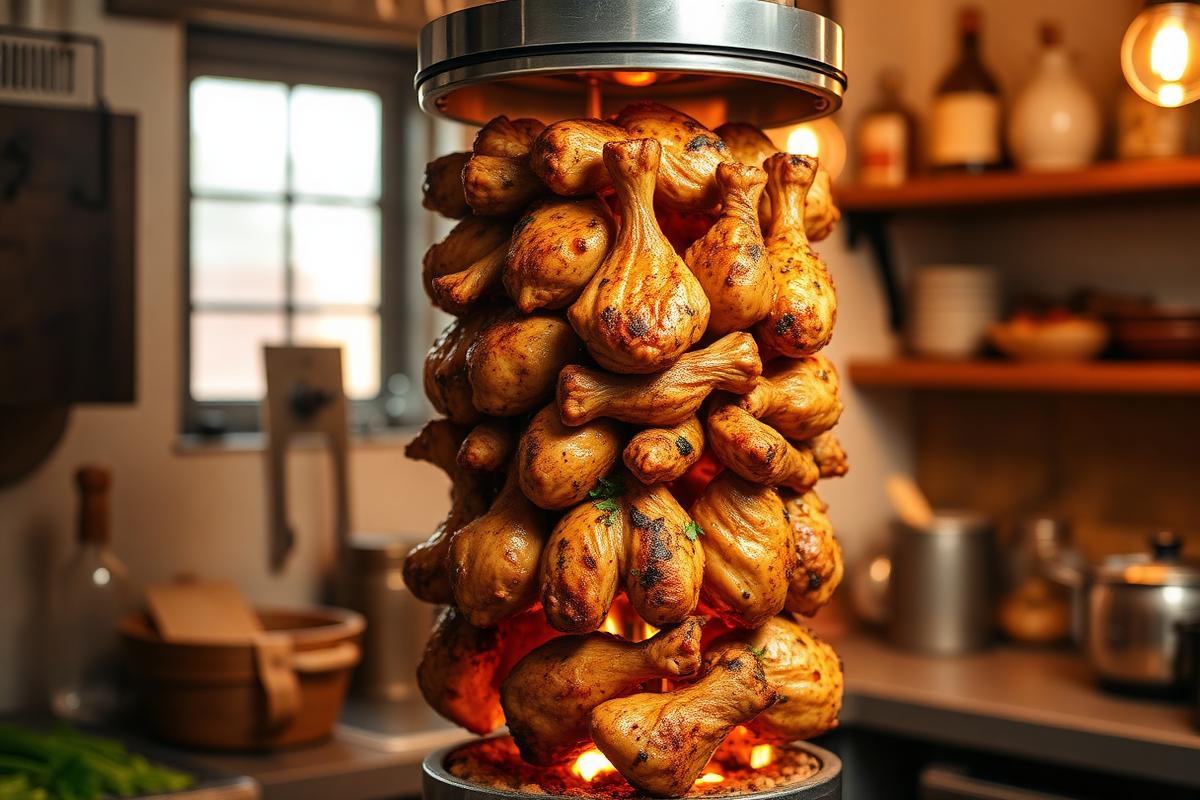
Why vertical cooking is different
A vertical stack is not just a novelty way of roasting meat. As the outside layer cooks, fat renders and runs down the face of the stack, continually basting the layers below it. The meat closest to the element crisps and is shaved away, exposing a fresh surface that is already warm and partly cooked. That cycle — crisp, shave, expose, crisp again — is what produces the texture that no pan can reproduce: crunchy edges, juicy interior, and no dry overcooked middle, because the middle never sits at high heat for long.
Choosing your setup
There are three realistic routes at home. A tabletop electric vertical rotisserie (roughly 150-250 EUR) is the closest thing to the real machine: a heating element on one side, a rotating spit on the other. A kettle barbecue with a rotisserie attachment gives you charcoal flavour and more capacity, but demands more attention to fuel and airflow. The budget route is an oven stack: thread the meat onto a long metal skewer stood upright in a deep roasting tin, roast, and finish under the grill. It will not rotate, so you turn the tin every fifteen minutes instead. All three work. The stack construction matters more than the machine.
Building a stack that does not collapse
Lay each piece of meat flat, not folded, and alternate the direction of each layer so thick and thin ends even out. Aim for a cylinder that is wider at the base than the top, so rendered fat runs down rather than dripping straight off. Every third or fourth layer, slip in a thin sheet of lamb or beef fat — this is the professional trick that home cooks miss, and it is the difference between a moist stack and a dry one. Cap the top with a halved onion or a whole tomato: it holds the stack compressed, and it steams gently into the top layers.
Balance and rotation
An unbalanced stack strains the motor and cooks unevenly, with one side sitting closer to the element on every turn. Before you switch on, spin the spit by hand: if it consistently settles with the same side down, that side is heavy. Redistribute a layer or two. Keep the stack centred on the spit rather than pushed to one side, and make sure the top nut is tight enough that the meat turns with the spit rather than slipping around it.
Heat management
Aim for a surface temperature that browns without scorching — around 200-220°C at the face of the stack. If your machine has one element, position the stack about 8-10 cm away. Too close and you get a black crust over raw meat; too far and the surface dries out before it colours. Charcoal setups need the coals banked to one side, not directly underneath, or the dripping fat flares and coats everything in soot. Expect 45-60 minutes for a 1 kg chicken stack and up to 2 hours for a large lamb one.
Knowing when to shave
Do not shave on a timer, shave on sight. The outer layer is ready when it is deep brown with darker edges and looks dry rather than glistening. Test with the tip of a knife: it should meet firm resistance, not softness. Shave only 5-8 mm — the depth of the cooked crust — and no more. If your slices come away pale or floppy, you went too deep and you have taken undercooked meat off the stack.
The shave itself
Use the longest sharp knife you own, ideally 30 cm or more. Start at the top, hold the blade almost flat against the face of the stack, and pull down in one smooth motion using the full length of the blade. Sawing tears the fibres and gives you shreds instead of ribbons. Catch the falling meat on a tray or with your free hand in a glove. Between shaves, give the stack five to eight minutes back on the heat to re-crisp the newly exposed surface.
Cleaning and maintenance
Rendered fat carbonises fast and turns rancid, which will taint the next cook. Remove the drip tray while the machine is still warm and pour the fat off — it is excellent for roasting potatoes. Wash the spit and forks in hot soapy water immediately; dried-on protein is much harder to shift. Wipe the element housing (never the element itself) with a damp cloth. Give the whole machine a deep clean after every two or three cooks.
Common problems and fixes
Dry meat almost always means no fat layers in the stack, or breast meat instead of thigh. Pale meat means the element is too far away or the stack is still shedding moisture — pat everything dry before threading. A stack that slides down the spit was not compressed hard enough at the build stage. Burnt outside and raw inside means too much heat, too close: move the stack back and accept a longer cook.